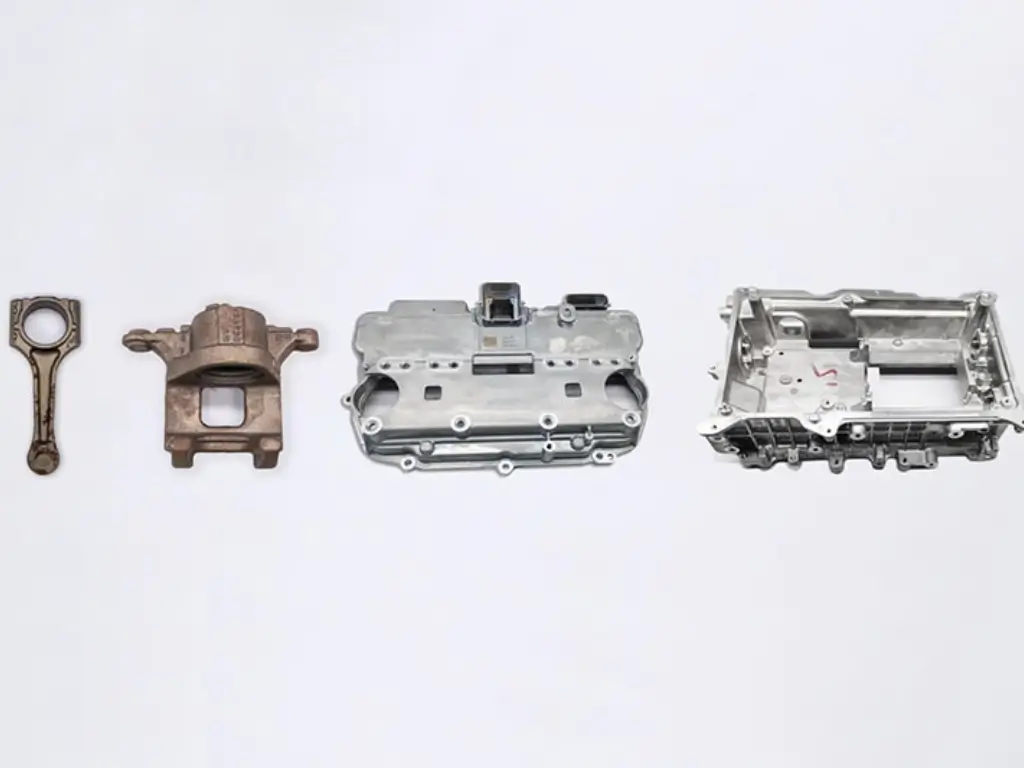
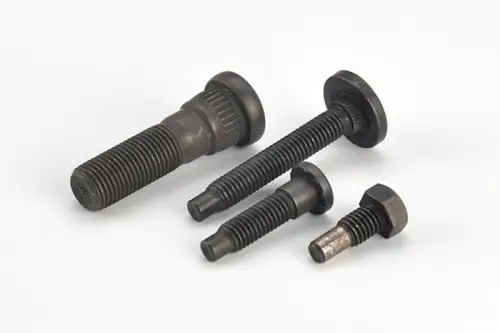
Precision is vital in automotive manufacturing, where even minor defects can have serious consequences. Manual inspection is impractical at scale, so machine vision technology has become standard for automated part identification, defect detection, and assembly verification.
Vision systems operate at high speeds without requiring rest. They provide consistent and objective inspections. They also support traceability and boost efficiency. This makes them essential for quality control and process improvement in the global automotive industry.

Machine vision instruments offer several significant advantages. Inspections happen quickly and do not tire out the operator. This ensures consistent and reliable data throughout the day.
Automated data storage and image archiving enable seamless product traceability, process validation, and regulatory compliance. These systems also support production line flexibility, allowing for quick adaptation to new component designs or changes in assembly processes.
Leading automotive manufacturers worldwide have adopted optical vision systems to strengthen their quality control frameworks. This has resulted in fewer defects, improved manufacturing efficiency, and a more reliable return on investment. Machine vision is now a standard and essential technology in today’s automotive production.
Identifies scratches, dents, cracks, inclusions, and other flaws on automotive parts to ensure cosmetic and structural integrity.
Measures part sizes, checks gaps and flush tolerances, and ensures correct assembly and alignment of parts during production.
The high precision and safety standards in the automotive industry make inspecting parts crucial in the manufacturing process. Even minor defects can compromise vehicle reliability, posing potential safety risks and incurring additional costs for manufacturers. Consequently, automotive part inspection, especially for appearance and dimensional accuracy, plays a vital role in modern automotive production processes.
Some manufacturers still use manual detection methods. These methods often result in low efficiency and an increased number of missed defects. This can also increase costs, which can be hard to manage.
At each step of production, manufacturers check car parts. They inspect body panels, fasteners, sensors, and interior trim. They search for surface defects, misalignments, and size issues.
Automated vision inspection systems can detect flaws such as scratches, dents, warping, and poor assembly. They also check that each part meets quality and compliance standards.
The advantages of machine vision inspection equipment in automotive parts inspection

Vision inspection systems powered by deep learning automate manufacturing operations by detecting defects, contaminants, functional issues, and other anomalies in products. These systems enhance the manual quality processes, improving overall business quality and reducing costs. Each test record stores and supports self-learning, which increases detection accuracy over time through continuous improvement.
Most machine vision systems come with a software tool library designed to perform various types of inspections. These systems monitor the visual appearance of materials through statistical evaluation, automatically identifying potential defects on the material surface. Inspectors classify defects based on contrast, texture, and/or geometric shape similarity, ensuring high inspection accuracy.
Vision inspection systems can perform a wide range of tasks to ensure product quality and integrity. They ensure that labels are placed correctly and confirm that the packaging of medical products is safe and secure. This requires manufacturers to seal bottles containing drugs fully and to include tamper-evident seals.
Inspectors examine finished products for defects, which can include surface scratches, bent pins, and incomplete welds.
These systems also count items, such as pills in blister packs, bottles in boxes, and components in kits. They inspect finished assemblies for components, such as consumer safety inserts, and verify that all assembly operations are complete. Vision inspection systems can measure tiny dimensions, such as the gap on spark plugs, ensuring precise and accurate measurements for quality control.