Traditionally, fastener inspection relied on manual visual checks or callipers, which are slow, imprecise, and depend on operator judgment. Machine vision inspection systems deliver rapid, high-precision, and objective defect detection, overcoming the limits of manual inspection. This automation enhances production efficiency, improves product quality, and provides consistent, unbiased evaluation for modern manufacturing needs.
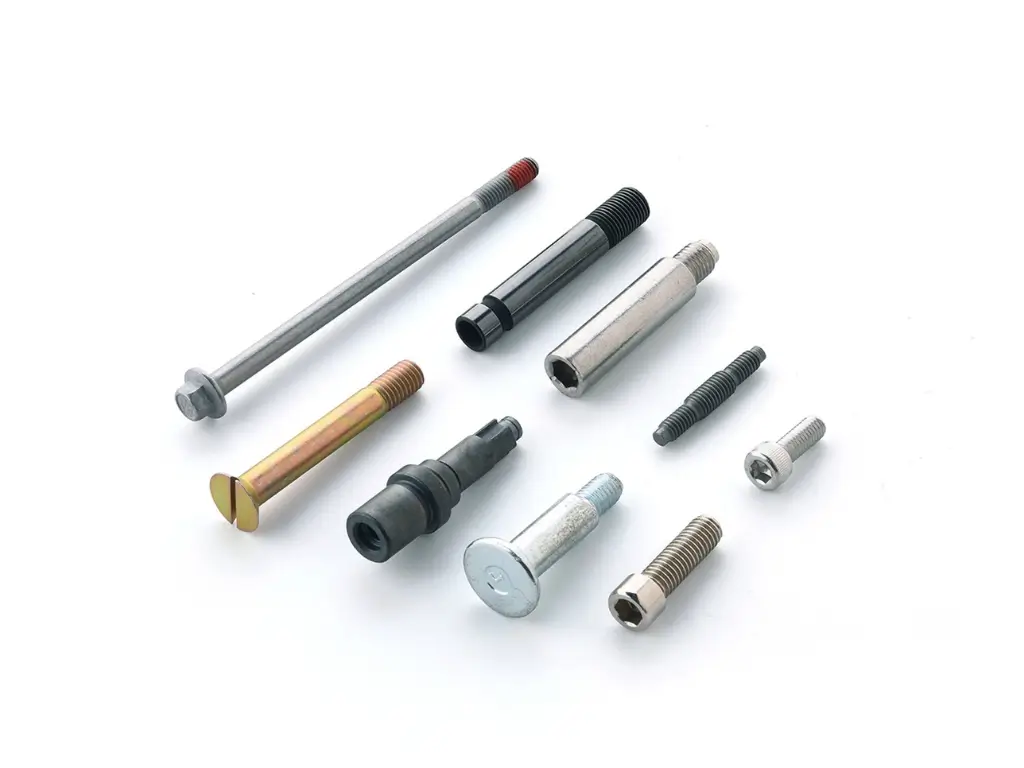
The integration of machine vision inspection systems has revolutionised the fastener quality assurance process. Advanced vision technology enables automated, non-contact dimensional measurement and surface defect detection at high speeds. Engineers design these systems for objective, repeatable analysis, which removes variability caused by human judgment and fatigue.
High-resolution cameras and advanced image processing can detect a wide range of issues. These include burrs, misshapen heads, thread damage, blocked holes, and surface flaws. They do this with great accuracy, identifying defective items in real-time.
Automated inspection enables production lines to operate more efficiently. It improves output and dramatically reduces the chance of shipping faulty products. You can log data from these vision systems for traceability and continuous process improvement. Ultimately, machine vision overcomes the limitations of traditional inspection by delivering consistent, reliable, and efficient quality control tailored to the demands of modern manufacturing.
Thanks to new technology, industries are becoming more automated. This enables us to produce more high-quality products. The threaded pin is an indispensable component used in all sorts of mechanical equipment. If the threaded pin has a defect, it can directly impact the performance of the equipment that uses it.
Clients have emphasised the importance of the quality of threaded pins. Traditional manual inspection cannot meet these needs. As a nondestructive inspection method, machine vision is an outstanding alternative to conventional manual inspection.
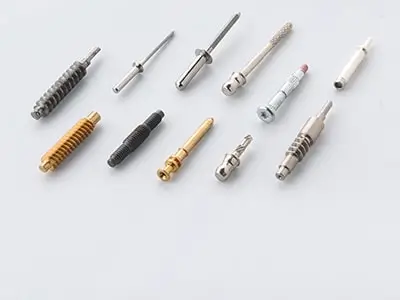
Our hardware vision inspection machines check the size of different fasteners. They also look for hole blockages, burrs, rough edges, and other issues. Its inspection and sorting speed depends on the feeding system, ranging from 300 to 1200 pieces per minute.
Features

The CCD surface defect detection system is a new intelligent control system. It uses digital image processing technology for automatic visual inspection of each product. This system replaces traditional manual inspection methods. It inspects the edge contour of the product to find any surface defect with high inspection speed and accuracy.
Working principle
The detection system utilises a specialised light to produce a clear image of the product. It then checks the image for any defects.
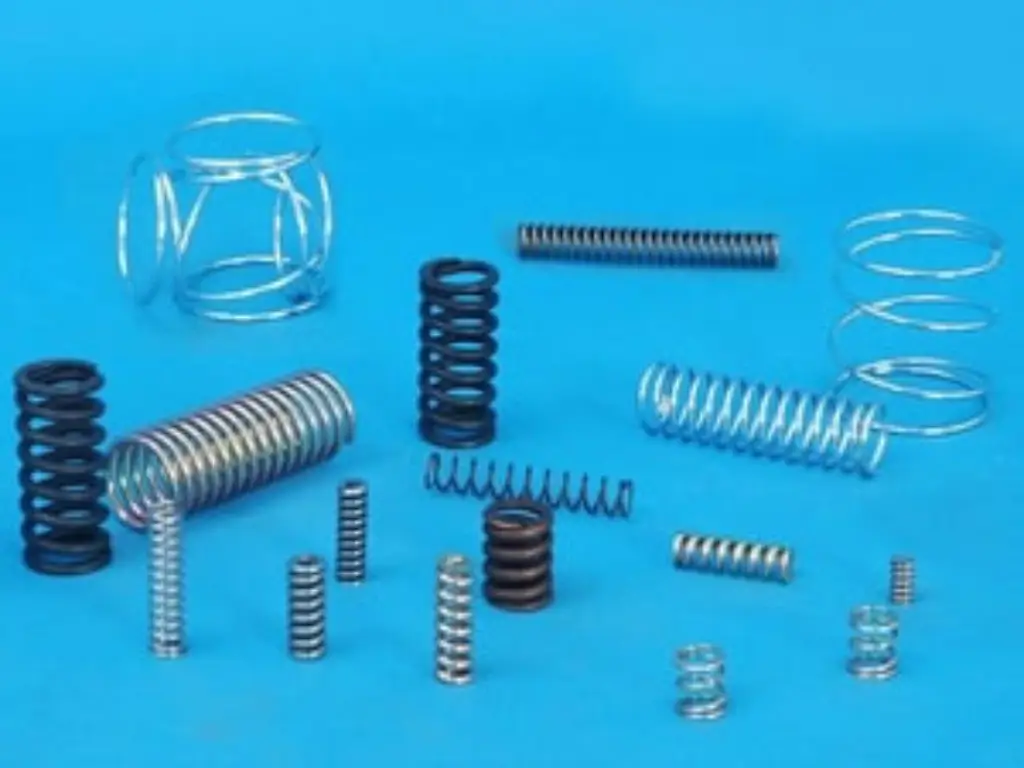
The service life of a spring is closely related to its quality. Therefore, strict surface quality inspection is necessary. Spring manufacturers employ various methods to inspect their products, ensuring stable product quality.
The test items of the springs include appearance, dimension, compliance, and more. Taking dimension inspection, for example, some manufacturers use a vernier calliper to inspect the spring manually. This not only diminishes efficiency but can also lead to inaccuracies.
Some manufacturers have brought in CCD visual inspection machines. These machines check springs, lower labour costs, and ensure stable product quality. And that’s not all. It also enables greater management and tracking capabilities.
CCD visual inspection machines can perform comprehensive inspection processes for springs, checking their dimensions, colour, defects, and more. The equipment operates in conjunction with a camera, a light source, and specialised software. They can accurately detect various defects in springs,, including lateral deformation, vertical deformation, and fractures. They offer high inspection speed, accuracy, and reliable results.
The weld nut inspection equipment is composed of various systems:
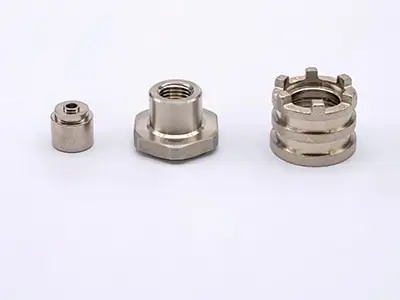
Yes, our automatic visual aborting and inspection machines can be integrated into existing production lines. Designers create them to be adaptable. They offer customizable settings and interfaces to accommodate various production environments. This integration enables manufacturers to enhance their quality control processes without requiring a complete overhaul of their existing production setups.
People recognise visual sorting machines for their high levels of accuracy, often exceeding 95%. The precision depends on factors like the part’s characteristics, the inspection criteria, and the machine’s technology. Advanced optical systems can detect minute defects, inconsistencies, and deviations, ensuring that only components that meet stringent quality standards receive approval.
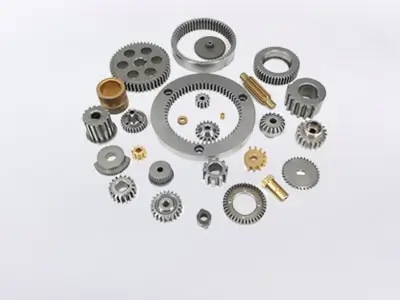
Using visual inspection machines for washers and nuts ensures uniformity and consistent quality in production. These machines can quickly find defects.
They look for surface cracks, size changes, and wrong shapes. These issues are critical in components such as washers and nuts. By automating the inspection process, manufacturers can reduce manual labour, improve product reliability, minimise waste, and enhance production efficiency.