What is AOI? Why Modern Factories Can’t Live Without It
What Is AOI and What Is an AOI System?
Core Components of an Automated Optical Inspection Machine
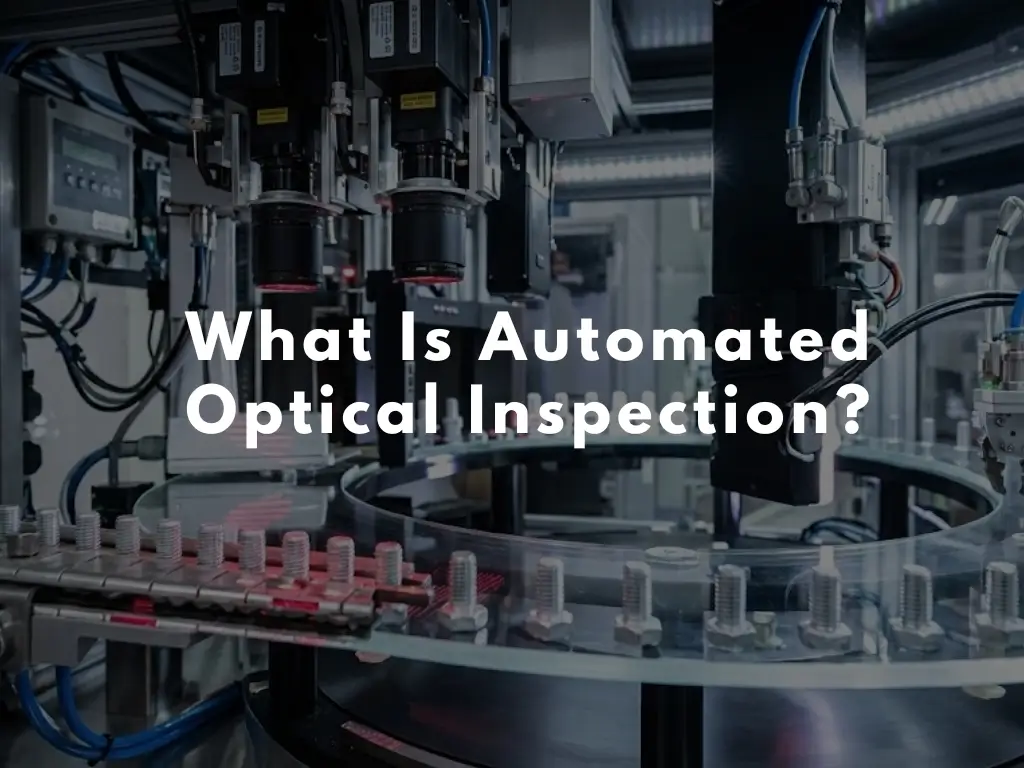
- The Optical System (Eyes): This comprises high-resolution cameras and a specialised light source. The lighting—often LED rings or domes—is vital as it highlights defects. For example, different angles of light can show shadows on a lifted lead or the edge of a solder joint.
- The Control System (Brain): This is where the primary processing occurs. The processing software gets data from the cameras. The most critical part is the ability to quickly interpret complex visual information.
- Mechanical System (Movement): This component transports the product or adjusts the camera’s position. The mechanics ensure the inspection process runs in sync with the production line.
Types of AOI Systems Used in Modern Factories
Inline AOI vs Offline AOI: Which Fits Your Factory Best?
- Inline AOI: These systems are directly integrated into the production line. They inspect 100% of products as they move from one machine to the next. I see Inline systems as essential for high-volume manufacturing. They help quickly identify defects, preventing a buildup of faulty boards. This also allows for real-time feedback to earlier machines.
- Offline AOI: These are standalone units typically used for batch inspection or sampling. I suggest using Offline stations for lines with many different products and low volume. They are great for frequent product changes and detailed post-reflow evaluations. While they don’t halt the line automatically, they provide flexibility and are often easier to program for new jobs.
How Does an Automated Optical Inspection Work on the Line?
How to Integrate an AOI System Into an Existing Production Line?
Production line integration involves more than simply installing a machine. I always recommend analysing the line balance first to avoid the AOI machine becoming a bottleneck. Successful integration requires connecting the AOI machines to the factory’s data network (MES) to monitor defect trends.
When installing an AOI step, ensure it is positioned strategically. For PCB assembly, placing it after component placement can help find alignment issues. Putting it after soldering is best for checking solder joints and wetting.
Role of AOI in Modern Factory Quality Control
- Open circuits: Where electrical continuity is interrupted.
- Short circuits: Where unintended connections occur.
- Excessive solder: Which can create bridges or “solder balls.”
- Component placement: Verifying that the correct chip is in the right position and correctly oriented.
- Dimensional accuracy: Ensuring mechanical parts meet strict tolerance levels.
Benefits of AOI for Yield, Cost, and Customer Satisfaction
- Consistency: Machines do not experience fatigue. While a human inspector’s attention may wane after 20 minutes, an AOI system maintains the same standard continuously.
- Speed: Modern AOI can inspect thousands of joints or features per second, keeping pace with the fastest placement machines.
- Data Traceability: Every defect is recorded. This provides important data for identifying root causes. It helps us learn why a defect happened, not just that it happened.
Challenges of AOI: Is AOI Perfect for Every Application?
- Pros: High speed, high repeatability, and comprehensive coverage of visible defects.
- Cons:
1. Line of Sight: AOI cannot detect hidden solder joints (such as those beneath BGA chips). For that, we require X-ray inspection (AXI).
2. False Calls: A big challenge is “false positives.” This happens when the system wrongly marks a good part as defective. This can occur because of changes in lighting or strict limits. Tuning the programming to minimise these requires expertise.
3. Programming Time: Setting up the inspection library for a complex board can be time-consuming, which may be a hurdle for very small batches.
Why Automated Optical Inspection Beats Manual Visual Checks in Most Cases?
FAQ:
What does the AOI stand for?
AOI stands for Automated Optical Inspection. A method that uses cameras to check products for manufacturing defects. It relies on image processing software.
What is AOI used for?
AOI helps ensure product quality by finding manufacturing defects. These defects can include missing parts, wrong placement, and surface flaws. People commonly use it to check printed circuit boards (PCBs), car parts, and semiconductor wafers. This helps stop faulty products from leaving the factory.
What is AOI in technology?
In the world of technology, AOI refers to the use of machine vision systems, high-resolution optics, and artificial intelligence. This helps automate quality control processes. It shows a shift from manual checks by people to quick, data-based automated inspections. This change is happening in "Smart Factories" (Industry 4.0).
What is AOI in electronics?
In electronics, AOI is a critical testing step used to validate the assembly of Printed Circuit Boards (PCBA). It looks for specific electrical and mechanical problems. These include solder shorts, open circuits, misaligned components, and weak solder joints. This helps ensure that electronic devices are reliable.
What is an AOI in a PC?
An AOI in a PC usually means the inspection process. People use this process when making computer motherboards and graphics cards. It ensures that the tiny resistors, capacitors, and chips are soldered correctly onto the PC's main circuit board. This happens before someone puts the board into the final case.